 |
FRAMES AND IMAGES IN HTML |
| << TEXT BOXES, CHECK BOXES, RADIO BUTTONS |
| TAG ATTRIBUTES, SOUNDS FILES, ANIMATIONS >> |
E-COMMERCE
IT430
VU
Lesson
08
FRAMES
AND IMAGES IN HTML
The
concept of frames is used to
set up a site so that one
page remains in view in part
of the browser screen
while
the visitors can use the rest of the
screen to view other pages
using hyperlinks.
General
format
<Frameset>
and <Frame> are the
two basic tags. This concept
uses two different types of
pages
frameset
page and content pages.
Frameset page divides the browser
window into a set of frames
and
defines
the size of each frame. It
also specifies which content
pages are displayed in which
frame. It has no
body
section (no body tag).
Content pages are just
regular HTML pages.
Dividing
the screen horizontally
<HTML>
<HEAD>
<TITLE>Horizontal
Frames</TITLE>
</HEAD>
<FRAMESET
ROWS="25%,75%">
<FRAME>
<FRAME>
</FRAMESET>
</HTML>
Result
is shown in Fig. 1 below.
Fig.
1
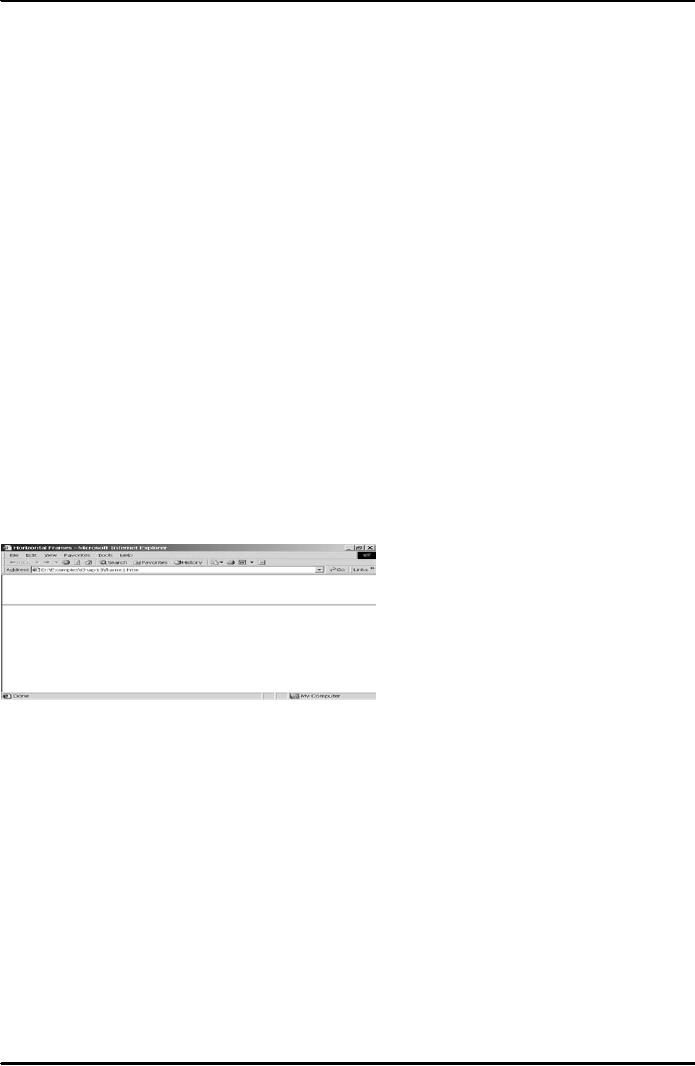
Dividing
the screen
vertically
<HTML>
<HEAD>
<TITLE>Vertical
Frames</TITLE>
</HEAD>
<FRAMESET
COLS="20%,60%,20%">
<FRAME>
<FRAME>
<FRAME>
</FRAMESET>
</HTML>
31
E-COMMERCE
IT430
VU
Result
is shown in Fig. 2 below.
Fig.
2
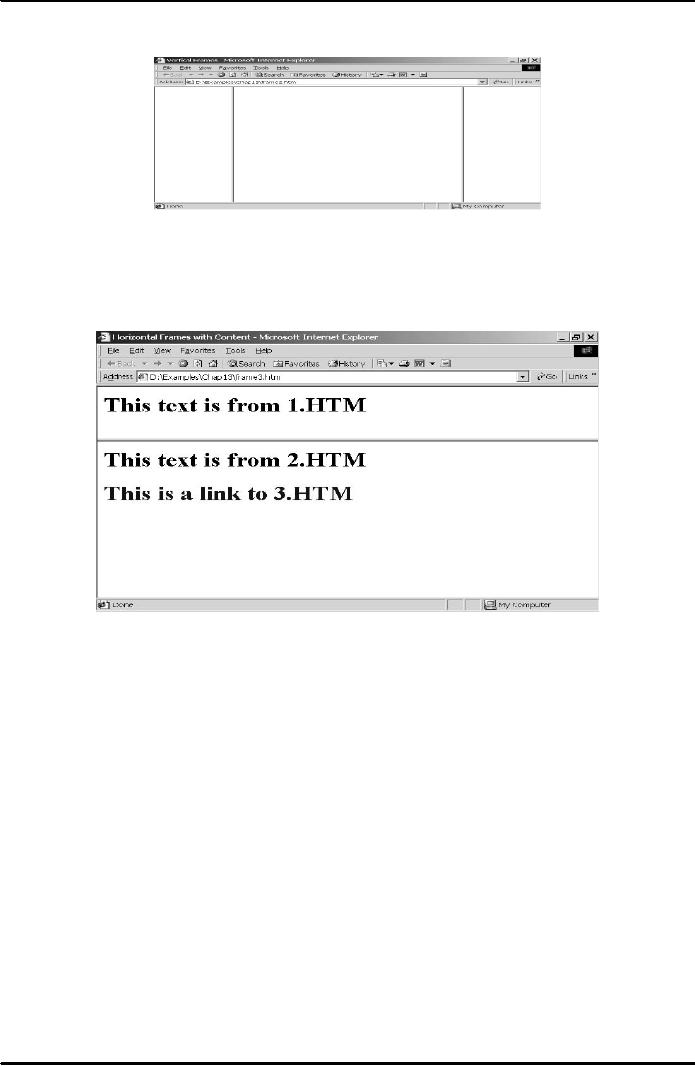
Frames
with content - frames.htm <HTML>
<HEAD><TITLE>Horizontal Frames
with
Content</TITLE>
</HEAD> <FRAMESET ROWS="25%,75%">
<FRAME SRC="1.htm"
Name="upper">
<FRAME SRC="2.htm" Name="lower">
</FRAMESET> </HTML> Result
is
shown
in Fig. 3 below.
Fig.
3
Note
that contents of the files 1.htm and
2.htm are displayed in Fig. 6 in the upper
and
lower
frames, respectively.
Code
- 1.htm
<HTML> <HEAD><BODY> <H1>This
text is from 1.HTM</H1>
</BODY>
</HTML>
Code - 2.htm <HTML>
<HEAD><TITLE>Horizontal Frames
with links</TITLE>
</HEAD>
<BODY> <H1>This text is
from 2.HTM</H1> <H1><A
HREF="3.htm"
TARGET="lower">This
is a link to 3.HTM</A></H1> </BODY>
</HTML>
Note
that `target' is an attribute of the
<A> tag . Specifying its
value as `lower' would mean
that contents of
file
3.htm should open in the frame named `lower' on
clicking the clickable sentence, as
shown in Fig. 4
below.
32

E-COMMERCE
IT430
VU
Fig.
4
Code
- 3.htm
<HTML>
<HEAD>
<TITLE>Horizontal
Frames</TITLE>
</HEAD>
<BODY>
<H1>This
text is from
3.HTM</H1>
<H1><A
HREF="2.htm" TARGET="lower">This is a
link back to
2.HTM</A></H1>
</BODY>
</HTML>
Ready-made
names for frames
Target="_self"
loads the new page
into the same frame that
contains the link Target="_top" -
loads the
new
page into the entire window
Target="_blank" loads the new
page into a new browser
window
Some
frame attributes
-
NORESIZE used in the <frame>
tag, prevents the surfers
from changing the size of the
frame
-
SCROLLING this attribute determines
whether a scroll bar appears
with a frame (e.g,
Scrolling="yes"
in the <frame> tag makes it
appear)
-
BORDER or FRAMEBORDER Set this
attribute to 0 for not displaying a
border between the
frames
Nesting
frames
We can
further divide a frame into
different frames. This
concept is called nesting of
frames.
See the
following example in this
regard:
<HTML>
<HEAD><TITLE>Nested
Frames</TITLE>
</HEAD> <FRAMESET
ROWS="25%,75%">
<FRAME SRC="1.htm"
NAME="upper">
<FRAMESET
COLS="50%,50%"> <FRAME
SRC="2.htm" NAME="lower">
<FRAME
SRC="3.htm"
NAME="right"> </FRAMESET>
</FRAMESET>
</HTML>
33

E-COMMERCE
IT430
VU
34
E-COMMERCE
IT430
VU
Result
is shown in Fig. 5 below.
Fig.
5
Images
can be links, too
We can
make images clickable as
shown in the following
example:
<HTML>
<HEAD><TITLE>Images Can Be
Links, Too</TITLE> </HEAD>
<BODY> Click this
house
<A HREF="main.htm"><IMG
SRC="home.gif"></A> to return to my
home page. </BODY>
</HTML>
Result
of this code is shown in Fig. 6
below.
Fig.
6
Images
can be maps, too
An
image map is a web page
graphics with several
defined `clickable' areas. To
create an image map
perform
three
steps:
1.
Decide which distinct image
regions you want to use and
then determine the coordinates of
each
region.
2.
Use the <Map> and
<Area> tags to assign a
link to each of these
regions.
3.
Add a special version of the <IMG>
tag to your web
page.
Step
1: determine the map
coordinates
A
pixel is a point marked on computer
screen. Typically computer screen
arranges pixels in 800
columns by
600
rows. A pixel can be
identified by giving its column
no. followed by its row
no. (e.g, pixel
10,15).
Suppose
we want to make the following rectangular
image (Fig. 7) as an image map. To
know the
coordinates
of its different clickable
regions one way is to set up
an HTML file with a link
that uses the
following
format: <A href="whatever"><Img
src="imagename" ISMAP></A> Load this HTML
file
into a
browser and move the mouse
pointer over the image. The
image co-ordinates of the current
mouse
position
appear in the status bar.
You can write these
coordinates on a piece of
paper.
199,0
599,0
0,0
399,0
A
B
C
35

E-COMMERCE
IT430
VU
199,99399,99599,99
Fig.
7
If the
rectangular image is 600
pixels in width and 100
pixels in height, and you want to
display it at the top
of the
screen dividing it into
three equally clickable
areas, then you can
find the coordinates of each
region
as
follows:
Area A
defined by coordinate 0,0 in the
upper-left corner and 199,99 in the
lower-right corner Area B
defined
by co-ordinate 199,0 in the upper-left corner
and 399,99 in the lower-right corner Area
C defined
by co-ordinate
399,0 in the upper-left corner and
599,99 in the lower-right corner
Step
1: Use <Map> to define
the image map
<Map
Name="Testmap"> <Area
shape="Rect" coords="0,0,199,99"
href="a.htm">
<Area
shape="Rect"
coords="199,0,399,99" href="b.htm"> <Area
shape="Rect" coords="399,0,599,99"
href="c.htm">
</Map> Note that we
use area tag within the
<Map> tag, and use
`shape', `coords' and
`href' attributes
of the area tag. `href' attribute
specifies the file which
would open on clicking the
clickable
area.
Step
1: Add the image map to
the web page
For
adding the image map to the web
page, use the image tag in
the format shown below:
<Img
src="coords.gif"
usemap="#Testmap">
Note
that you give name of the
main image file as value of
the `src' attribute. Name of the image
map is
given as
value of the `usemap'
attribute.
<Area>
tag's SHAPE attribute
the
"shape" attributes also accepts the
values "circle" and "poly"
(for a polygon). For a
circle, "coords"
attribute
takes three values: the x-coordinate of
the circle's centerpoint, the y-coordinate of the
center point,
and
the radius of the circle. For a
polygon, the "coords" attribute
takes three or more sets of
coordinates.
36
Table of Contents:
- E-COMMERCE
- WHAT IS A NETWORK
- HOW MANY CLASS A, B, C NETWORKS AND HOSTS ARE POSSIBLE
- NETWORKING DEVICES
- BASICS OF HTML 1
- BASICS OF HTML 2
- TEXT BOXES, CHECK BOXES, RADIO BUTTONS
- FRAMES AND IMAGES IN HTML
- TAG ATTRIBUTES, SOUNDS FILES, ANIMATIONS
- STYLE SHEETS 1
- STYLE SHEETS 2
- SOME USEFUL STYLE SHEETS PROPERTIES
- JAVA SCRIPTING 1
- JAVA SCRIPTING 2
- JAVA SCRIPTING 3
- JAVA SCRIPTING AND XML
- CLIENT AND SERVER SIDE PROCESSING OF DATA
- APPLETS, CGI SCRIPTS
- MAINTAINING STATE IN A STATELESS SYSTEM
- INTEGRATION WITH ERP SYSTEMS
- FIREWALLS
- CRYPTOGRAPHY
- HASH FUNCTION AND MESSAGE DIGEST
- SYMMETRIC KEY ALGORITHMS
- VIRTUAL PIN PAYMENT SYSTEM
- E-CASH PAYMENT SYSTEM 1
- E-CASH PAYMENT SYSTEM 2
- SECURE SOCKET LAYER (SSL)
- E-BUSINESS: DISADVANTAGES OF E-BUSINESS
- E-BUSINESS REVENUE MODELS
- E-MAIL MARKETING
- CUSTOMER RELATIONSHIP MANAGEMENT (CRM)
- META INFORMATION
- DATA MINING
- CONFIDENCE AND SUPPORT
- ELECTRONIC DATA INTERCHANGE (EDI)
- PERSONAL FINANCE ONLINE
- SUPPLY CHAIN
- PORTERS MODEL OF COMPETITIVE RIVALRY
- BARRIERS TO INTERNATIONAL E-COMMERCE
- ELECTRONIC TRANSACTIONS ORDINANCE, 2002 - 1
- ELECTRONIC TRANSACTIONS ORDINANCE, 2002 - 2
- ELECTRONIC TRANSACTIONS ORDINANCE, 2002 - 3
- GLOBAL LEGAL ISSUES OF E-COMMERCE - 1
- GLOBAL LEGAL ISSUES OF E-COMMERCE - 2